
How to Set Default Utility Company Notes for Tenants
How to Set Default Utility Company Notes for Tenants
Set Default Utility Company Notes for Tenants
We’ve made it easier for you to manage utility notes for your tenants! Instead of adding individual notes for each listing, you can now set default notes per utility provider. These notes will apply to all tenants using that provider, saving your team time and effort.
What does setting a default utility company note mean?
This feature simplifies utility setups by allowing you to add custom instructions for tenants—like directing them to call the utility company instead of setting up online. This way, you can ensure electricity goes in their name while keeping water under your company’s account. It’s an easy way to save time and make sure everything is done right the first time!
How it works:
Go to your Settings.

Click on the new Tenant Settings button.

This will take you to a landing page where you can manage various settings, including utility notes.
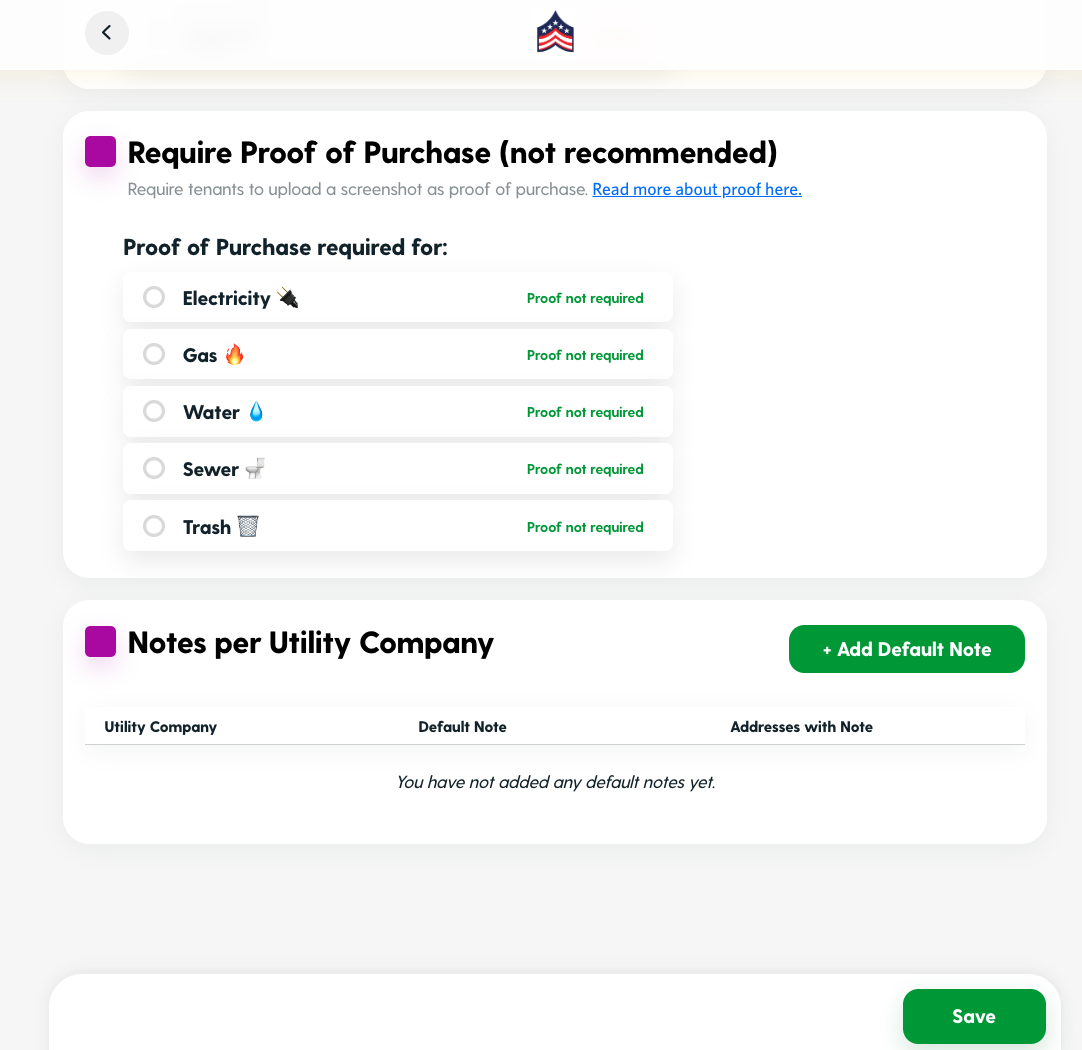
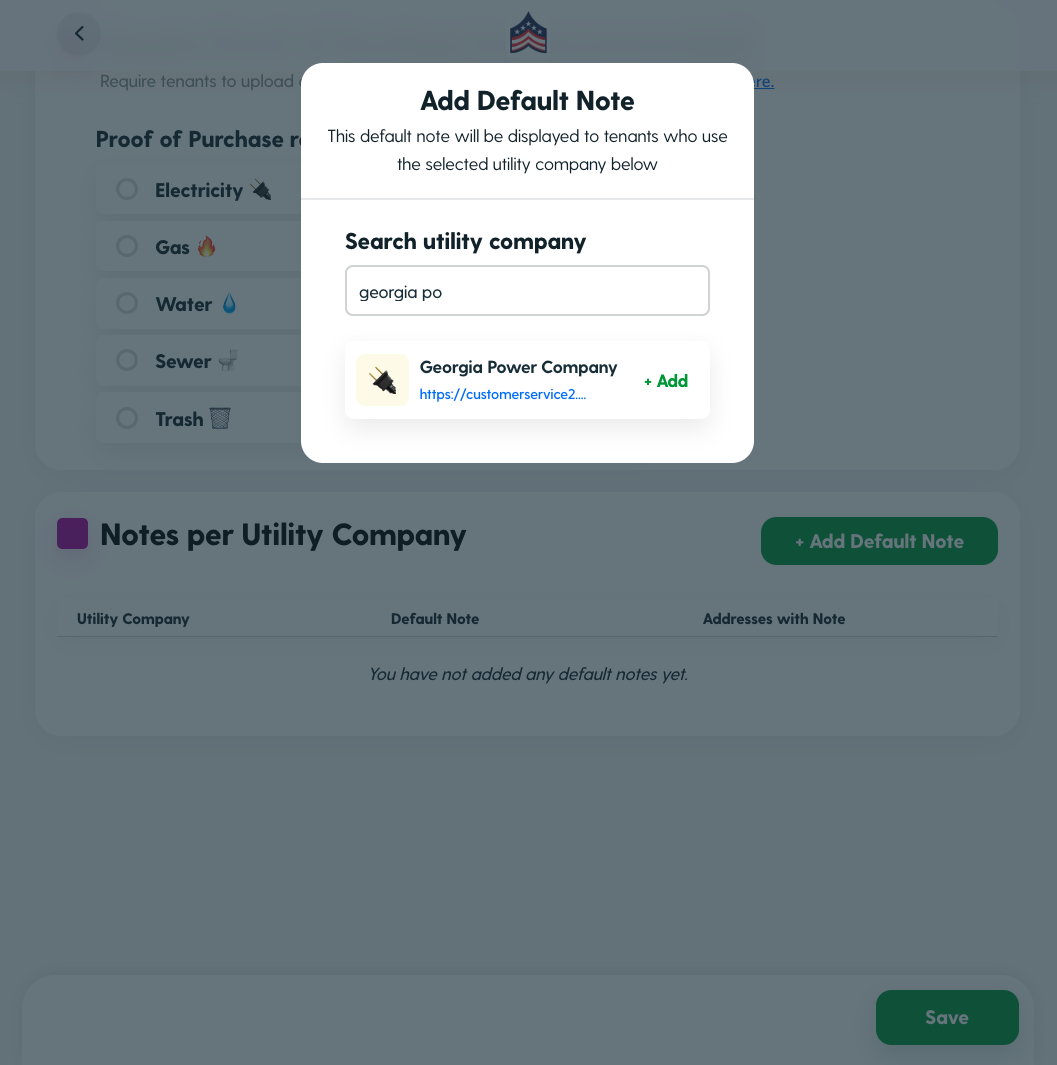
To add a default note, click the Add Default Note button. This opens a window where you can choose a utility provider from a drop-down menu and enter your default note in the text area.
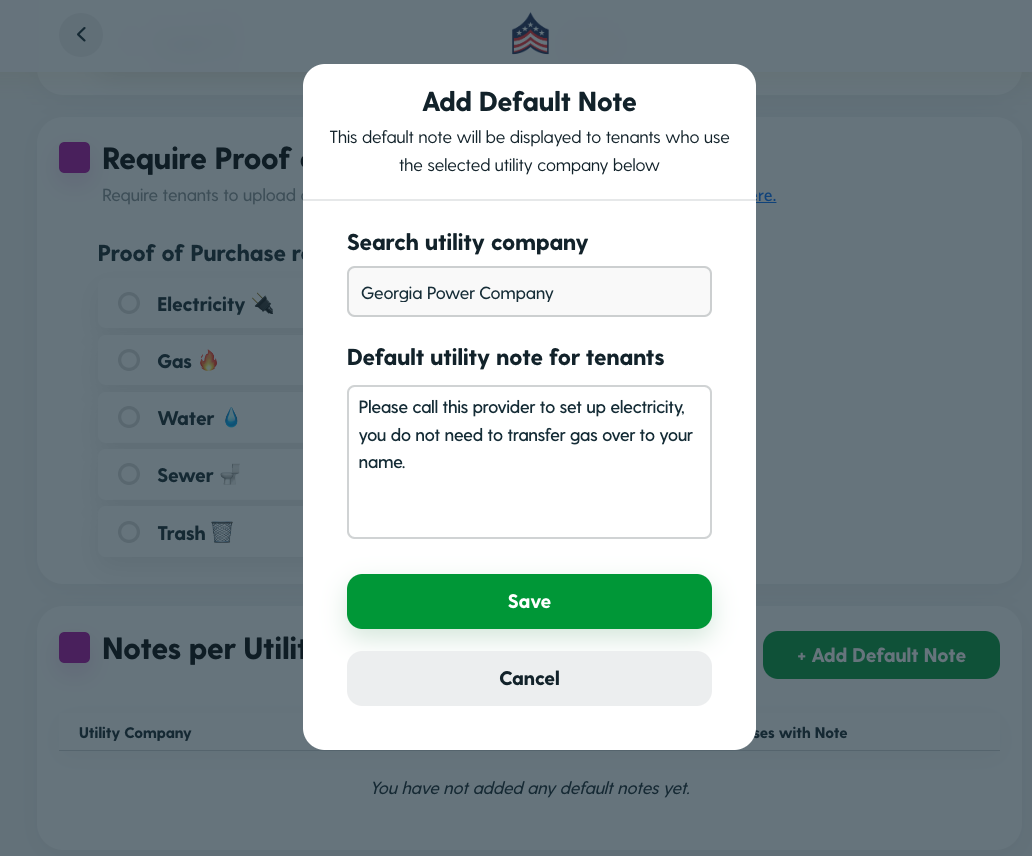
Once you have selected the provider — Add a default utility note for tenants. See the example below:
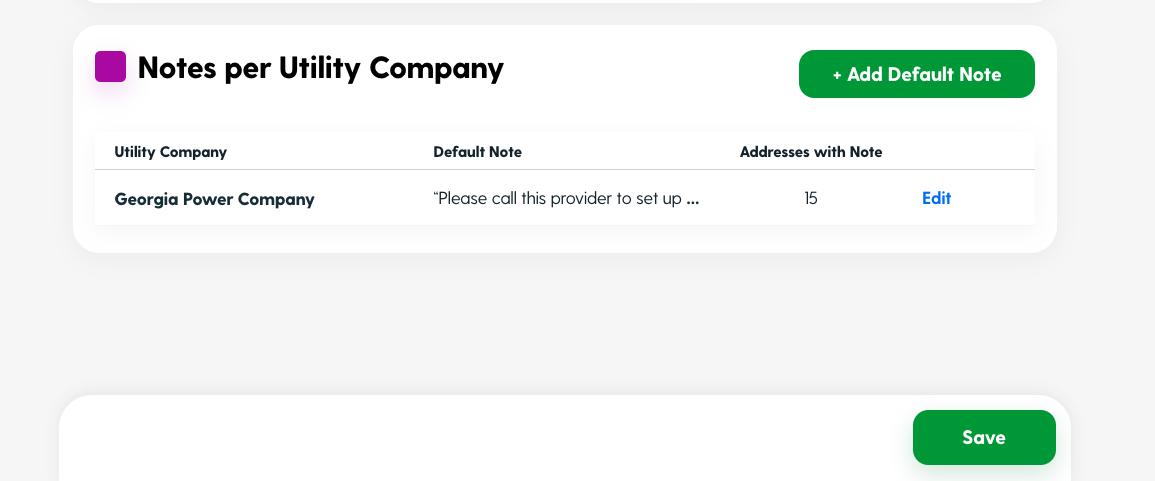
Save your note. Be aware that if you’ve added notes to specific addresses before, a warning will appear. You can easily see how many addresses have this note added.
What Tenants See:
When tenants go to their utility setup form, they will see a section titled Note(s) from the Property Manager.
Your default note will be displayed alongside any address-specific notes, helping tenants understand utility setup requirements.
By using default notes, you can streamline your communication with tenants and ensure everyone receives the same, clear information about their utility responsibilities.